Importing the Bill of Quantities (BoQ) into Estimate
A Bill of Quantities (BoQ) can be created in Estimate through the following methods:
- By manually typing the Bill directly.
- By using Copy from Master and importing items from a previous BoQ (referred to as a “Master”).
- Bringing in an entire BoQ from an Excel file or a document provided by the client or QS.
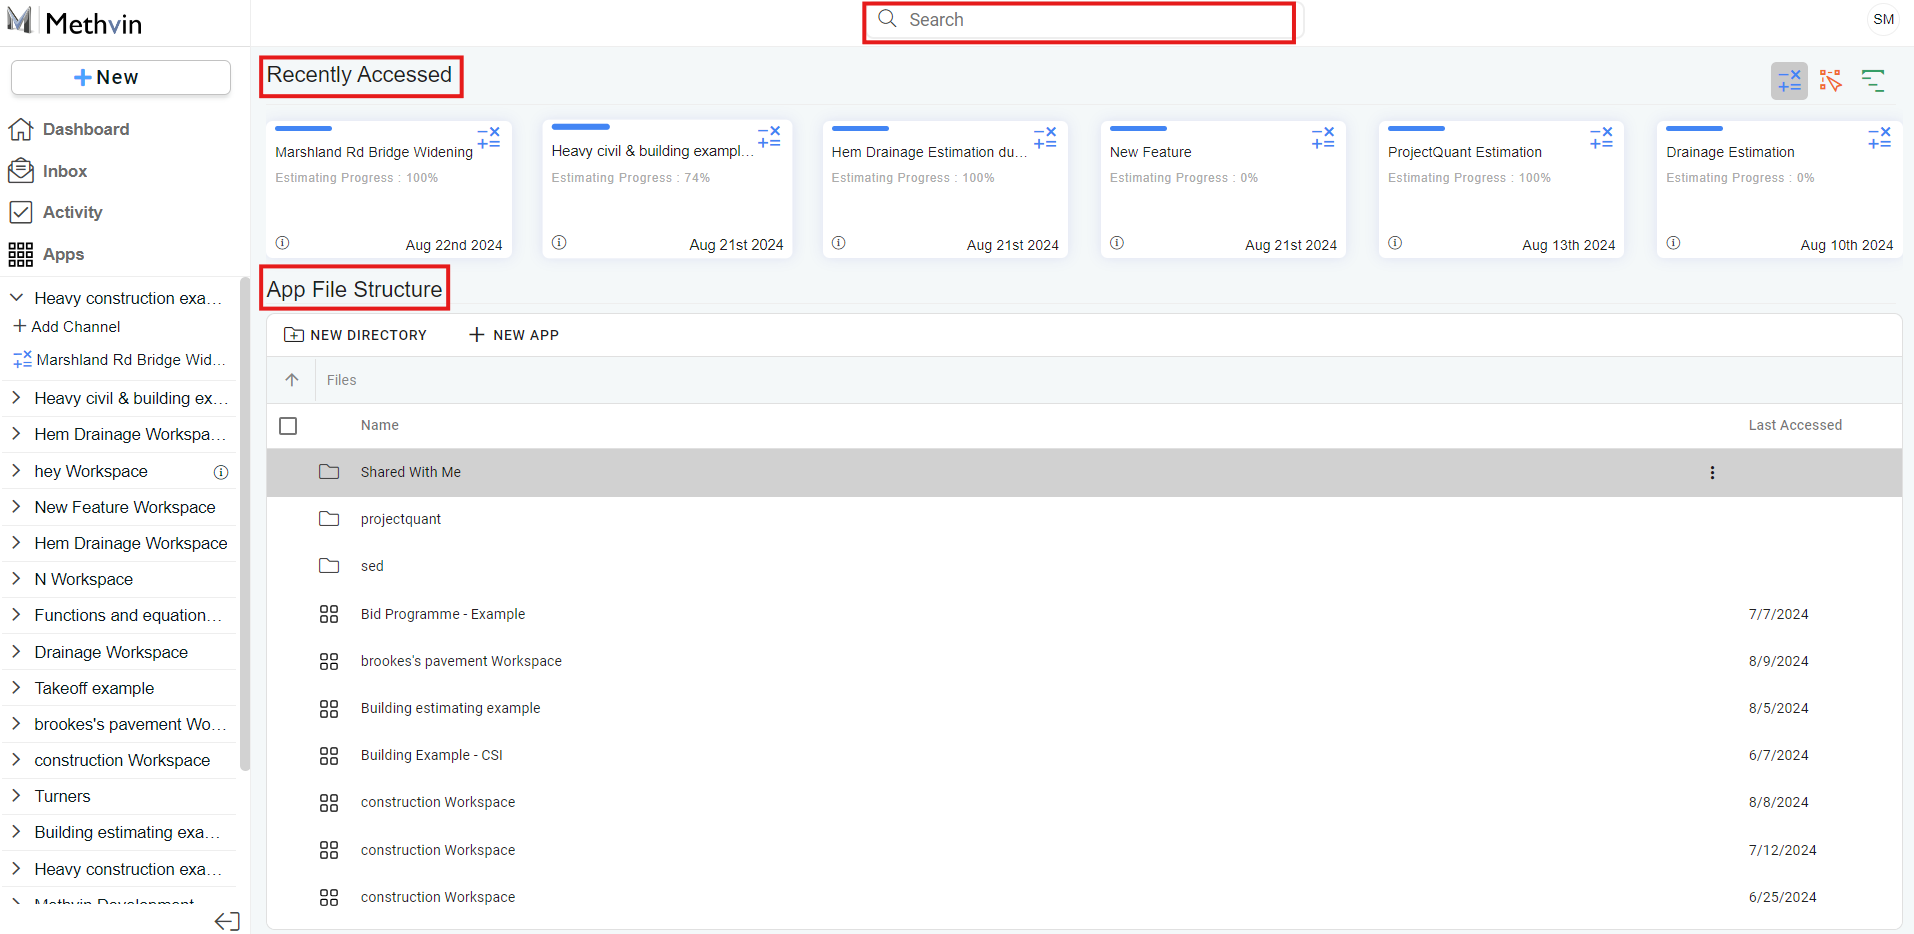
Accessing Your New Project Estimate
To begin, access your project estimate in Methvin from one of the following options:
- Recently Accessed Menu.
- App File Structure.
- Search Console
Understanding “Masters”
A “Master” in Methvin refers to any previous project estimate that can be used as a template for a new estimate. It allows for the transfer of bill items, resources, pricing worksheets, and other essential details into the current estimate. Creating and using a Master can significantly streamline the estimating process. Read here to import from a master.
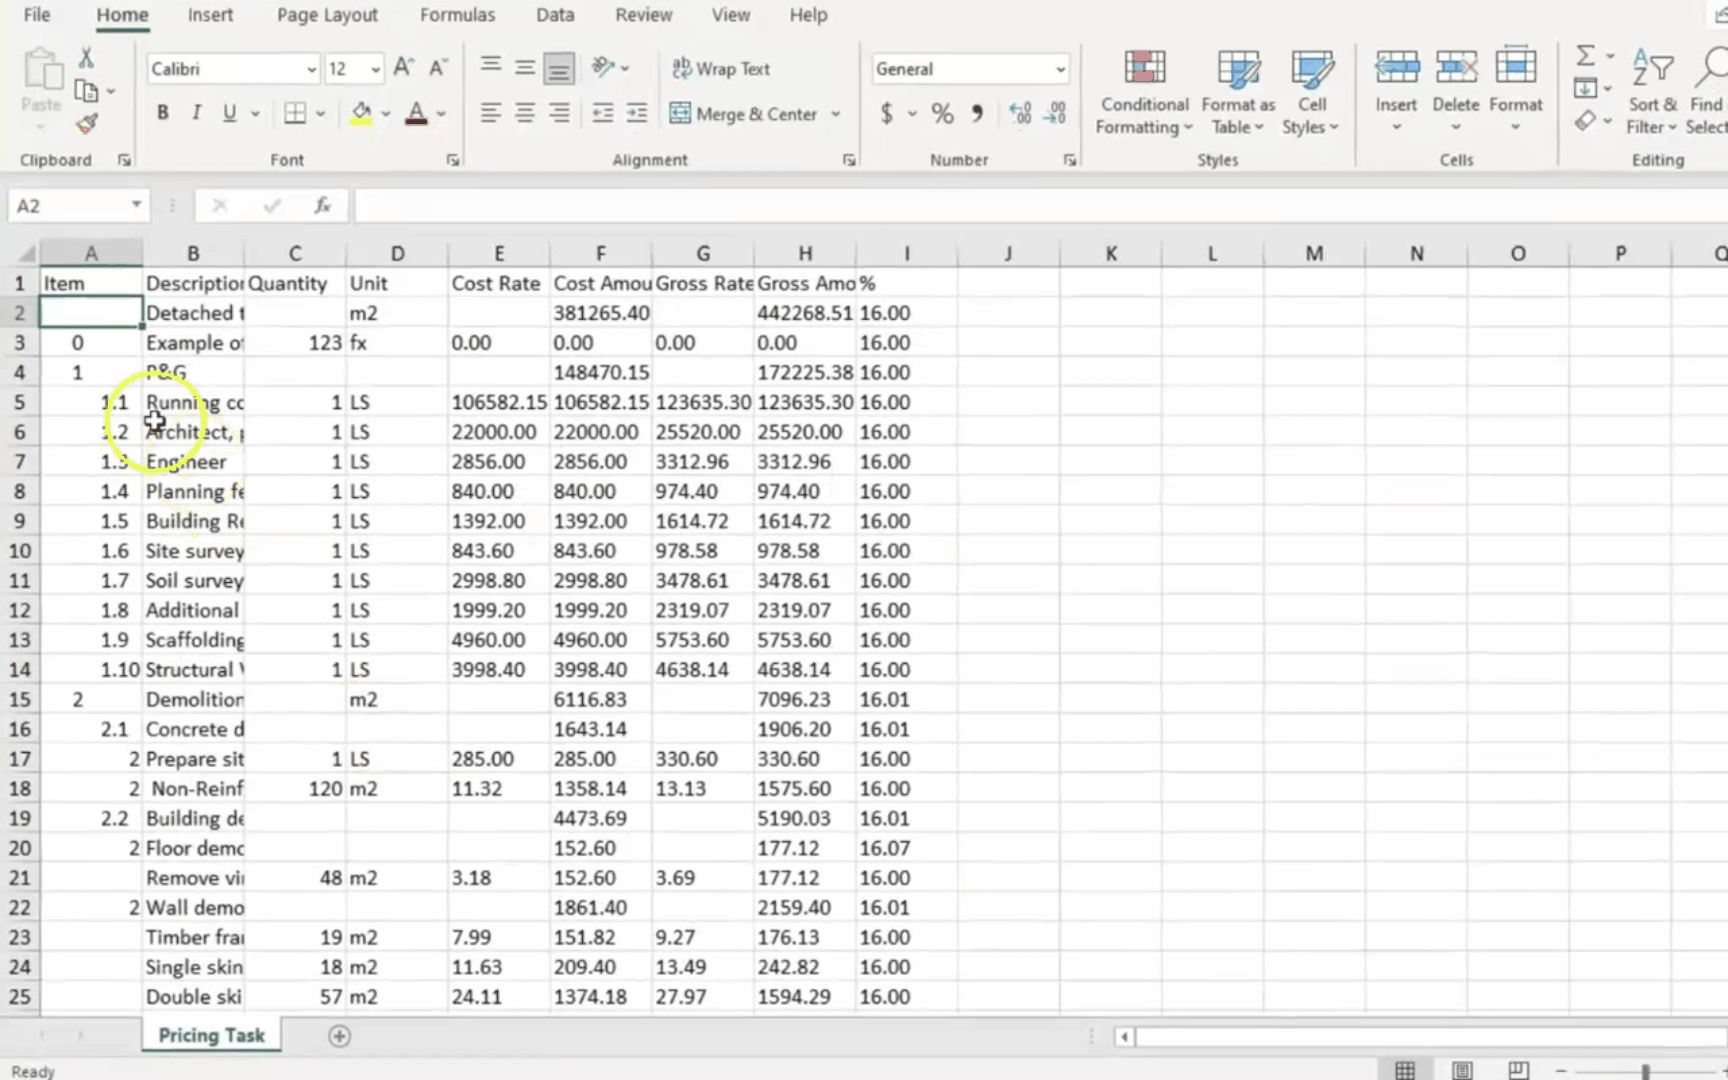
Import a BoQ from an Excel Spreadsheet
- Open your Excel file and select all the data using Ctrl+A.
- Right-click on the selected range and choose Copy (or use Ctrl+C).
- Navigate back to the Methvin Application.
- From the Pricing Table tab, open the context menu by right-clicking within the table.
- Select Paste (or use Ctrl+V).
- The Bill of Quantities Column Selection Mapping Tool will appear.
- Identify the corresponding fields (Item Number, Description, Unit, Quantity) and map them to the appropriate Excel columns using the dropdown options.
- Once mapped, click the Import button to bring the BoQ data into the Pricing Table.
⚠️ Ensure your browser has access to the clipboard for this process to work smoothly.
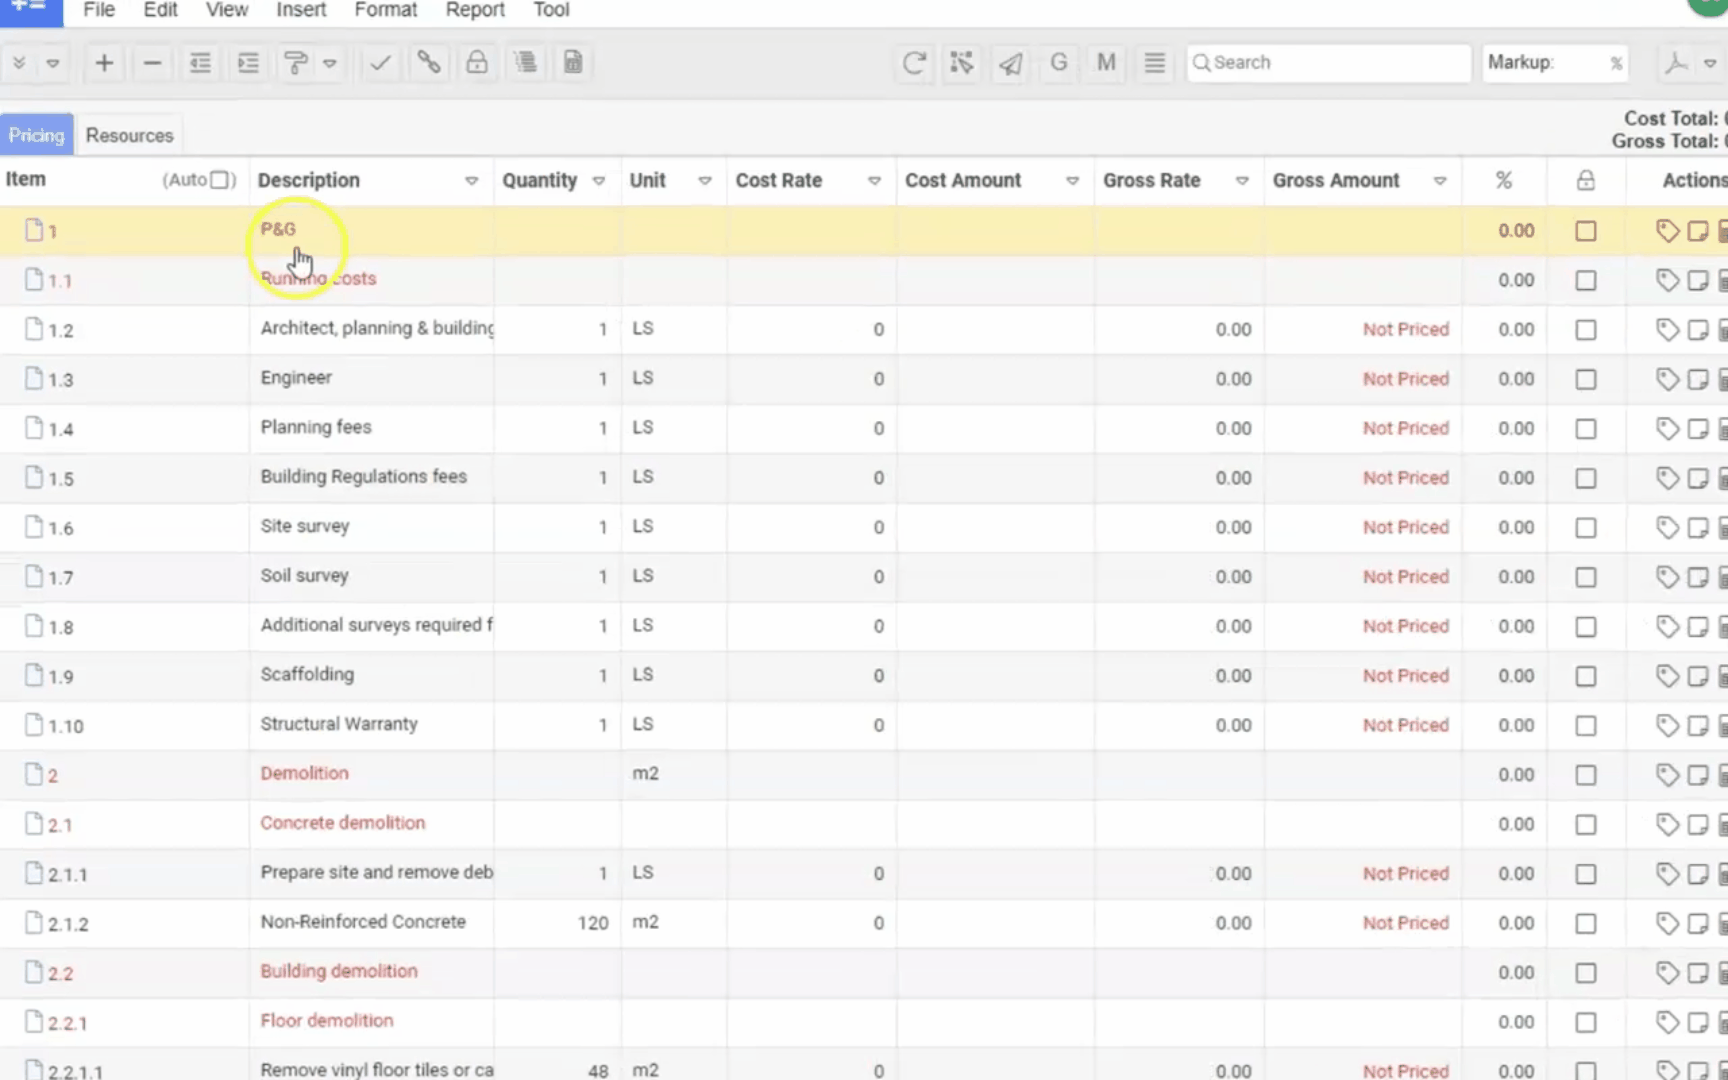
Section headings (WBS)
Changing comments to section headings
In a Methvin Bill a hierarchy of headings (WBS) can be created, allowing easier navigation of the Bill by opening and closing sections and generating summary pages in reports.
All non-Bill items imported from an external file, will have its Description highlighted red marking it as a comment. Many of these can be converted to meaningful headings to improve the readability of the Bill.
Setting Section Levels
- Select the Range of Items:
- Identify the range of items below the comment line that you want to convert into a Level heading.
- Use the context menu or Tool bar to indent the selected items.
- This converts the comment into a section header.
- Creating Section Level 1:
- The first item in a Bill is often the Project name.
- Select the entire Bill using Ctrl+A.
- Hold Ctrl and click the first line item to unselect it.
- Indent the remaining selection to make the Project Name your Section Level 1.
- Work Breakdown Structure (WBS)
- Level 1: Use the Project Name or Separable Portions names.
- Level 2: Use Project Trades or Project Scope.
- Further Levels: Continue to break down the project into unlimited packages of work as needed.