Creating a New Agile Team
- From the homepage, click on New and select Agile Team.
- A dialog box will appear prompting you to name your new Agile team.
- Fill in the Team Details, enter the Team Name and an optional Description of the team.
- Once the required fields are filled, click Create. This action will create a new workspace for your Agile team.
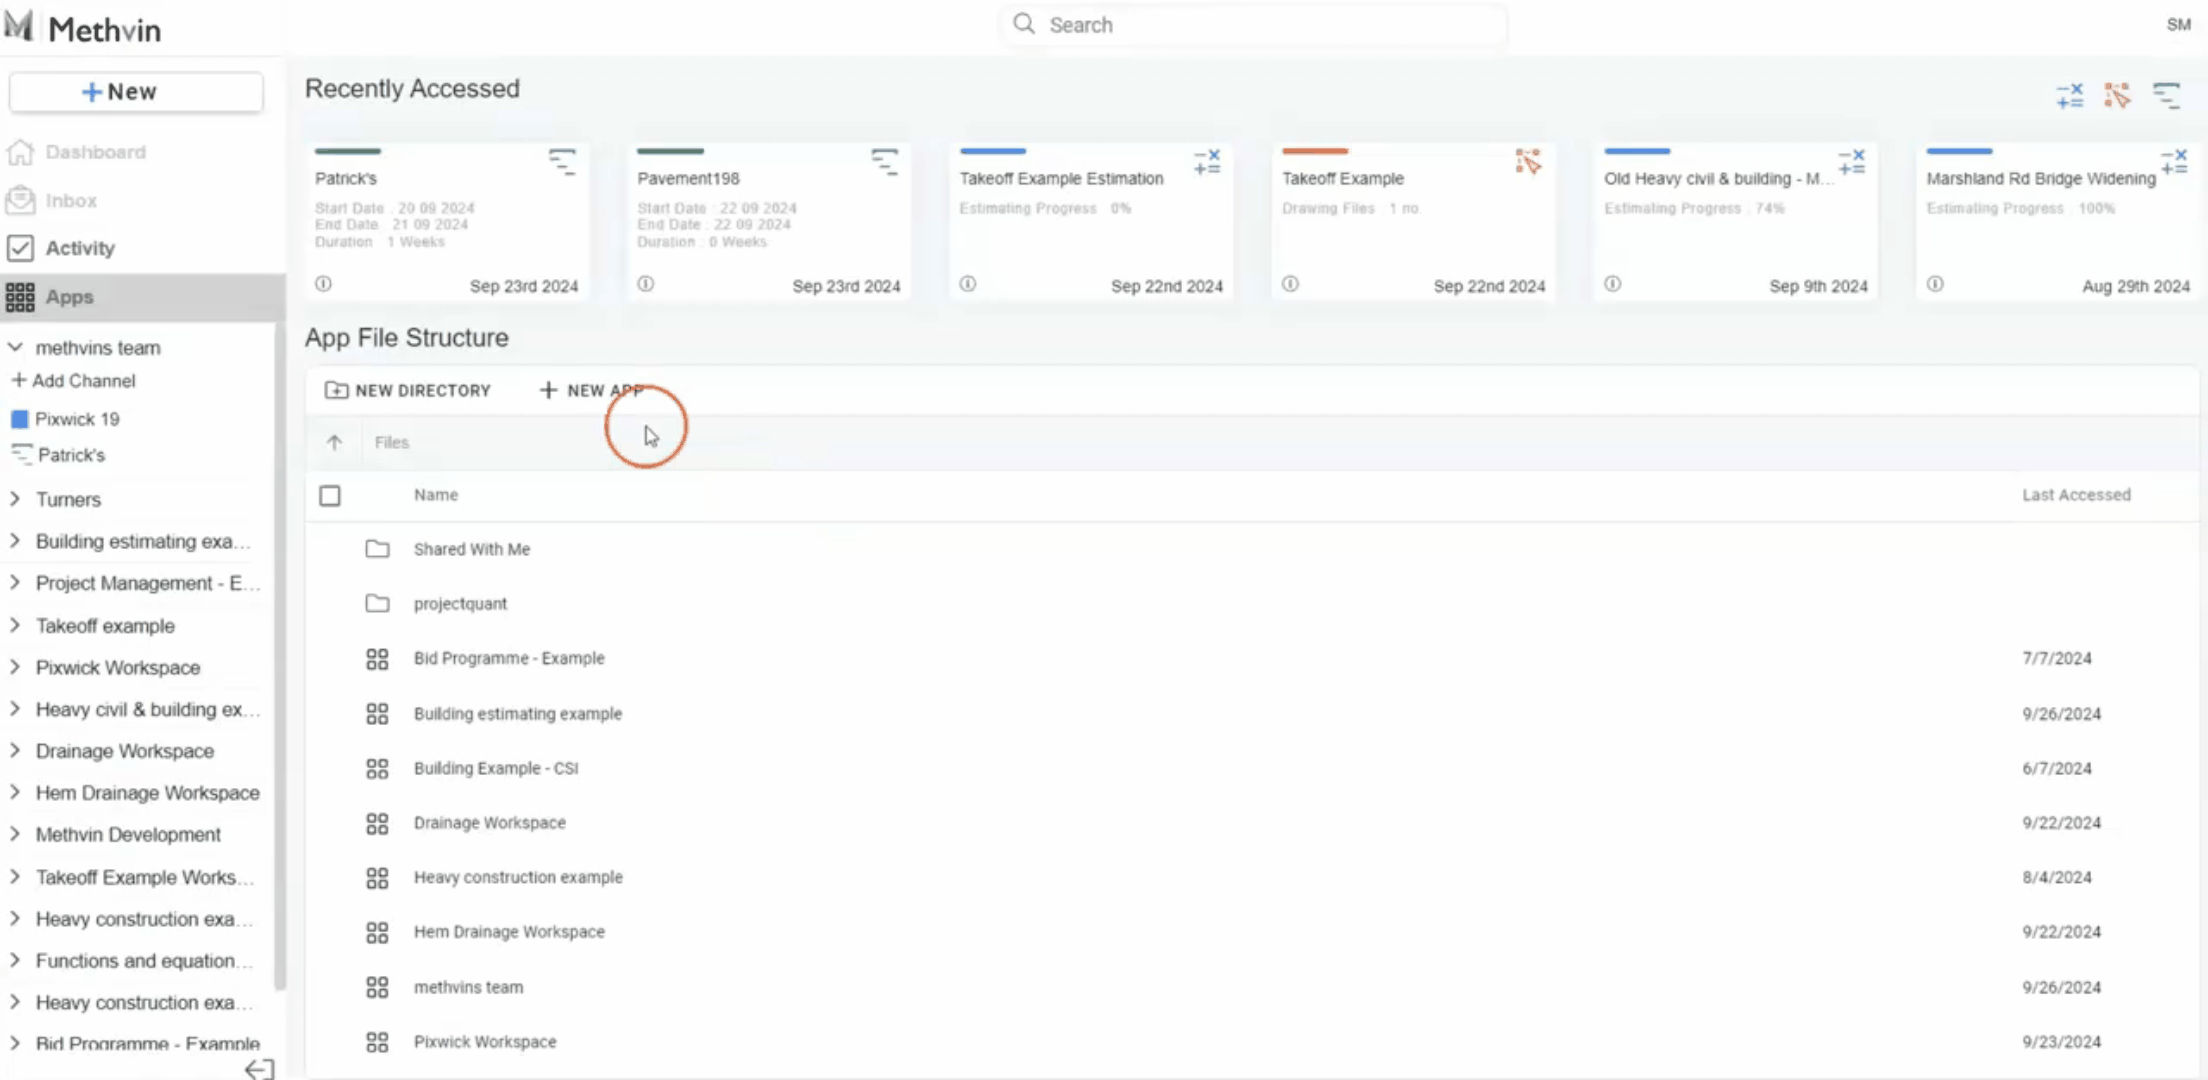
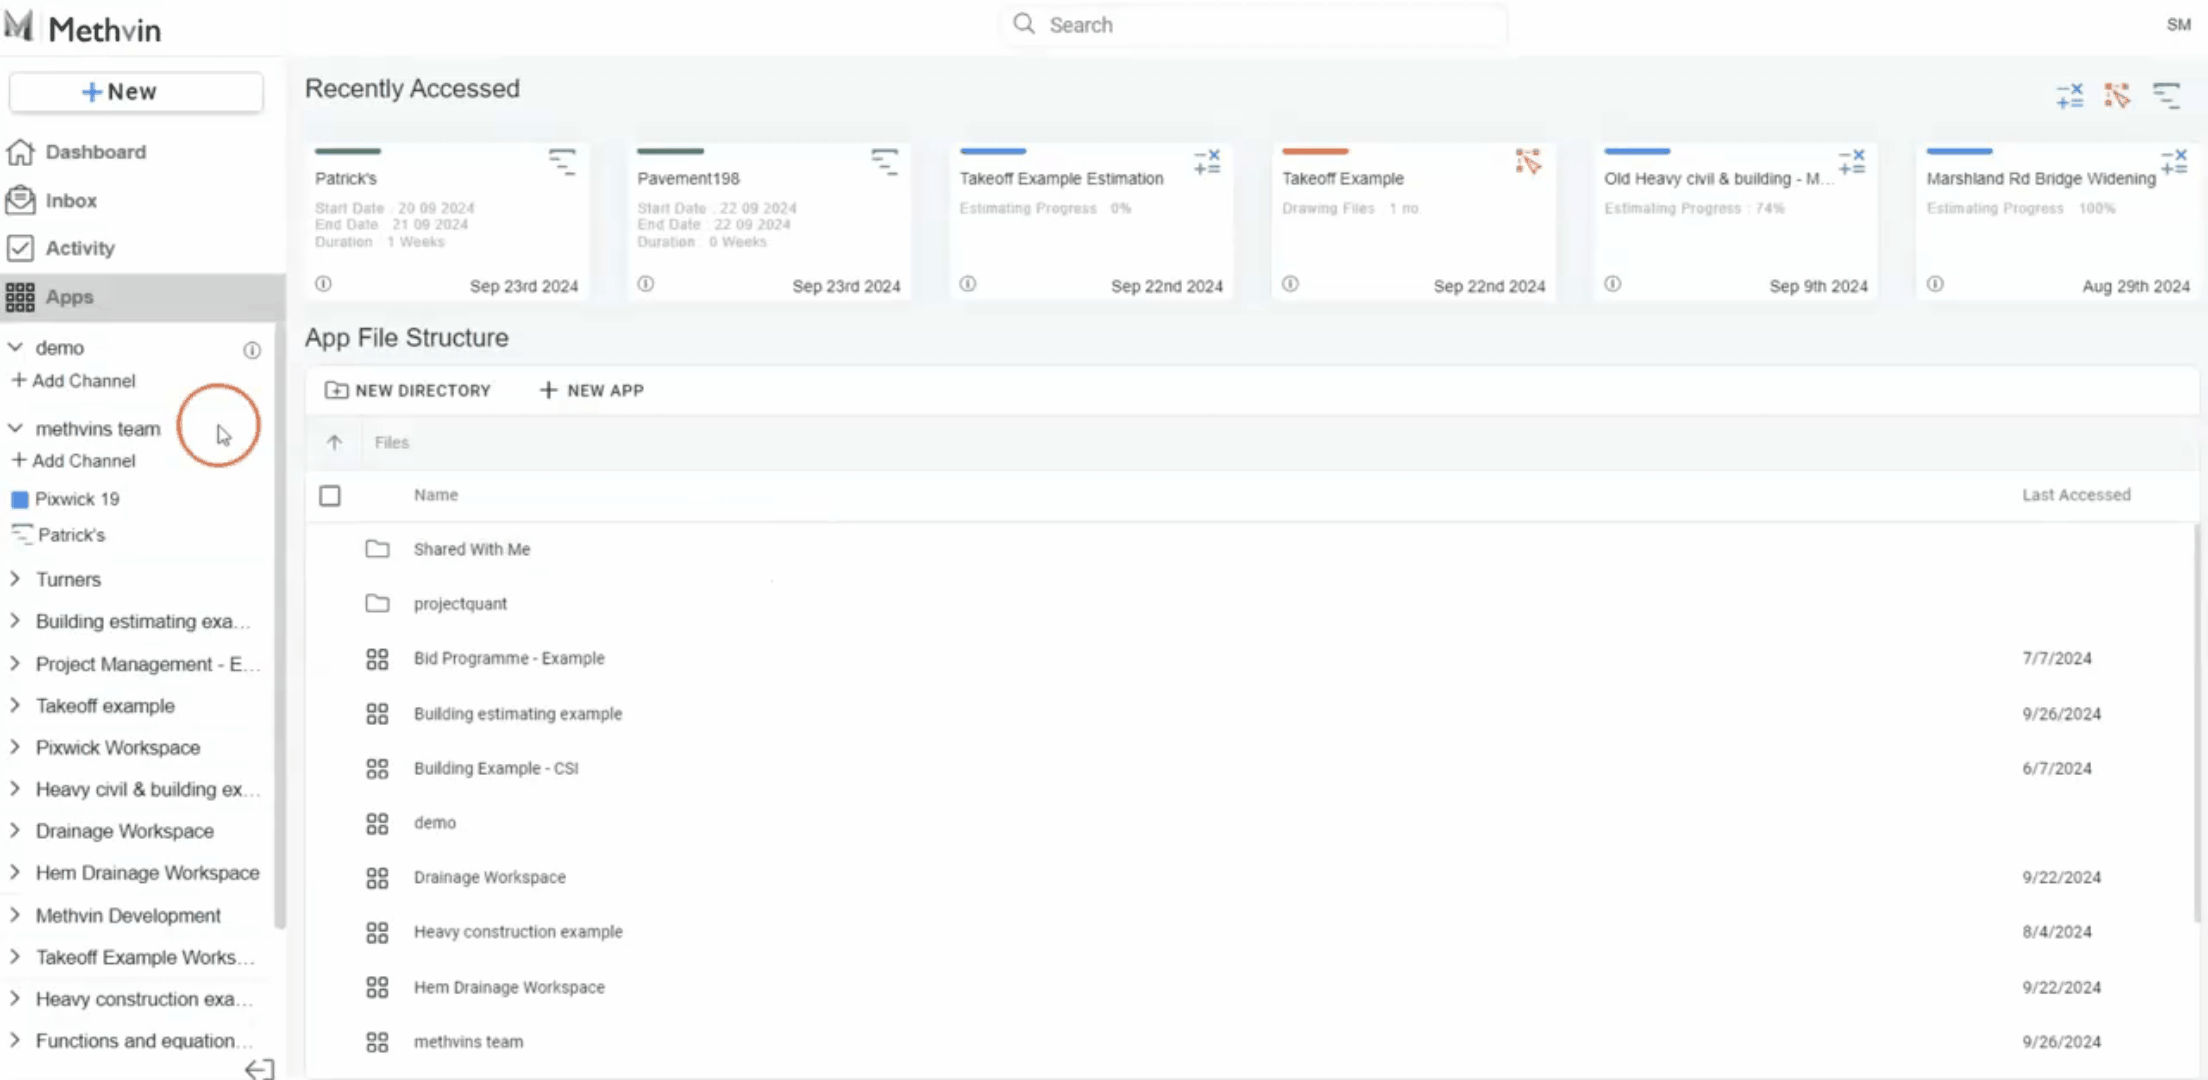
Accessing the Agile team/Workspace
After creating the team, the workspace can be accessed in two ways:
- Through the Side Panel on the homepage.
- From the App File Structure.
Adding Channels to the Workspace
- Under your new workspace, click + Add Channel.
- A dialog box will appear asking you to configure the channel settings.
- Channel Configuration Options include,
- Channel Name: Provide a unique name for the channel.
- Channel Description: Optionally, include a brief description of the channel's purpose.
- App Type: Select the type of app the channel will host:
- Project Management
- Estimate
- Takeoff
- Gantt
- Registered Option: If you check the Registered option, the channel and its tasks will become undeletable.
- Privacy: Determine the visibility of the channel by selecting from the following options:
- Private to Channel Members: Only visible to you and then you can share to members of the channel.
- Public to Workspace: Visible to everyone in the workspace.
- Template: If you have any templates, you can choose to apply one to the new channel.
- Once all settings are configured, click Create to finalize the channel. The channel will now appear under the selected workspace.
Managing Channels
After creating a channel with the Project Management app type, you can access and manage it from the workspace panel.
Accessing Channel Options
Locate your channel in the workspace sidebar. On top you will see the channel name. Click ![]() next to the channel name for channel management options.
next to the channel name for channel management options.
- Change Highlight: Customize the color of the channel’s highlight. Selecting this option allows you to change the color of the shape that visually represents the channel (currently blue).
- Rename channel: Modify the name of the channel at any time by selecting this option.
- Share channel: Share the channel with others, granting them access based on your sharing preferences.
- Save as Template: You can save the current channel as a template, which can be reused for future projects, saving time and maintaining consistency.
- Export as CSV: This option allows you to export the channel data in CSV format, making it easy to work with the data outside of the app, in Excel.
- Delete channel: Permanently remove the channel from the workspace if it is no longer needed. Please note, if the channel was marked as “Registered” during creation, deletion will not be possible.